

Blog
How to Set Up a Printer For the First Time

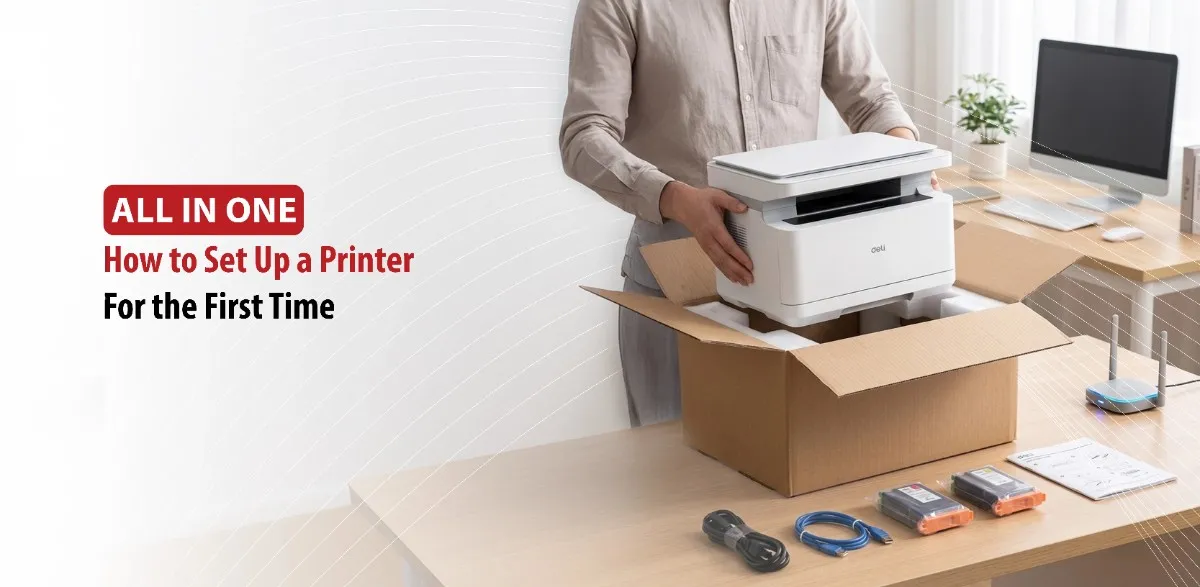
You bought a new printer and you don’t know how to set it up. It might seem intimidating at first, but you’ve come to the right place. We’re going to walk you through everything you need to set up your printer for the first time. From unboxing and installing ink or toner cartridges to connecting the printer to your computer, Wi-Fi network and printing for the first time.
We’re going to cover a few steps to help you set up your printer, and by the end of this guide your printer will be ready for use.
Starting off with what you’ll need before setting up your printer.
What You’ll Need Before Setting Up Your Printer
First things first, you’re going to unbox your printer, check what is included in the box, power cable, USB cable, ink cartridges, toner, manuals, you’ll also need Wi-Fi if you’re connecting wirelessly and lastly choose a suitable place for your printer.
Installing Ink Cartridges or Toner Correctly
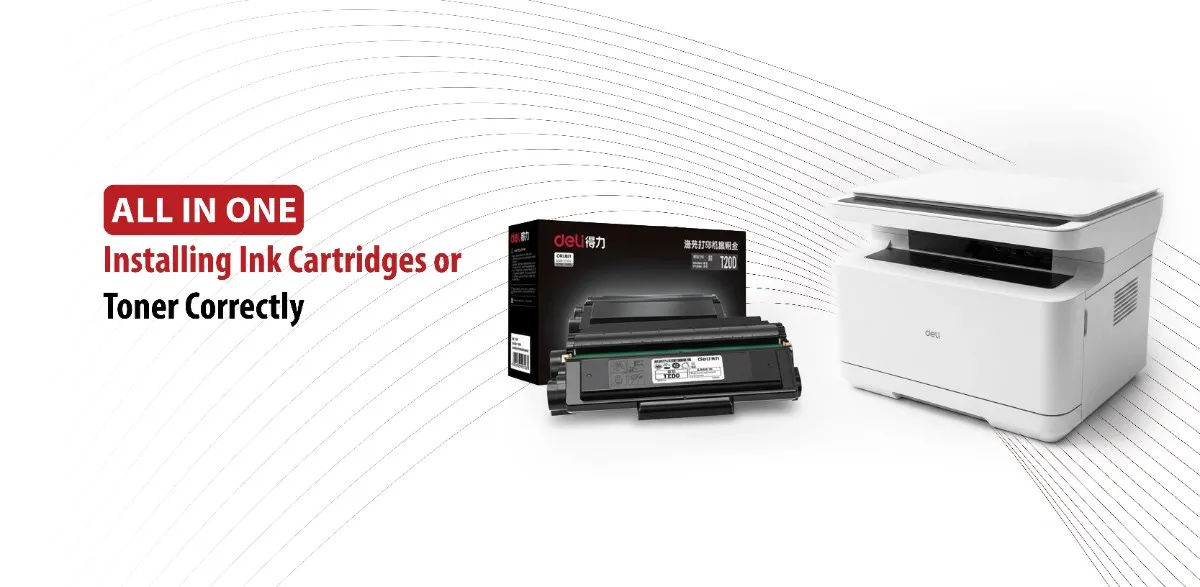
Now that you’ve done the basics, we’re going to discuss how to install ink cartridges or toner correctly depending on your printer type.
Ink cartridges are installed in inkjet printers and toner cartridges are installed in laser printers, so they both require a few steps to install correctly.
How to Install Ink Cartridges
- Power on and Access: Turn on your printer and open the cartridge access door. Wait for the print carriage to move to the center and stop.
- Unbox and Prep: Open the new cartridge. Carefully peel off any protective plastic tape using the colored pull tab.
- Important Rule: Don’t touch the copper colored contacts or the ink nozzles. Doing so can cause electrical failures or clogs.
- Insert: Hold the cartridge by its sides with its nozzle facing toward the printer. Slide it into its color coded slot at a slight upward angle, then push it up and forward until it clicks securely into place.
- Finish Up: Close the access door. Follow any on-screen prompts to align the printer if necessary.
How to Install Toner Cartridges
Toner is a very fine powder used in laser printers. Printer toner cartridges come in sealed packaging, which is designed to protect it. While storing toner in your home or office, you should
always leave the cartridge inside the packaging until it is time to install it. Toner can dry out if left out of its packaging for an extended period without being used.
- Once you’re ready to install your cartridge, gently remove it from the packaging and pull out the tab at the end of the cartridge in one long strip.
- Next, carefully rock the cartridge from side to side to evenly distribute the toner.
- Open the front cover of your printer.
- You’re now ready to fit the cartridge into the drum unit. While some laser printers have built in drums, others have removable drums which can be replaced when needed.
- Put the toner cartridge into the drum unit. It should lock into place with a click. Now install the unit with the cartridge back inside back into the printer.
- Close the front cover of your printer.
Connecting a Printer to a Computer or a Mobile
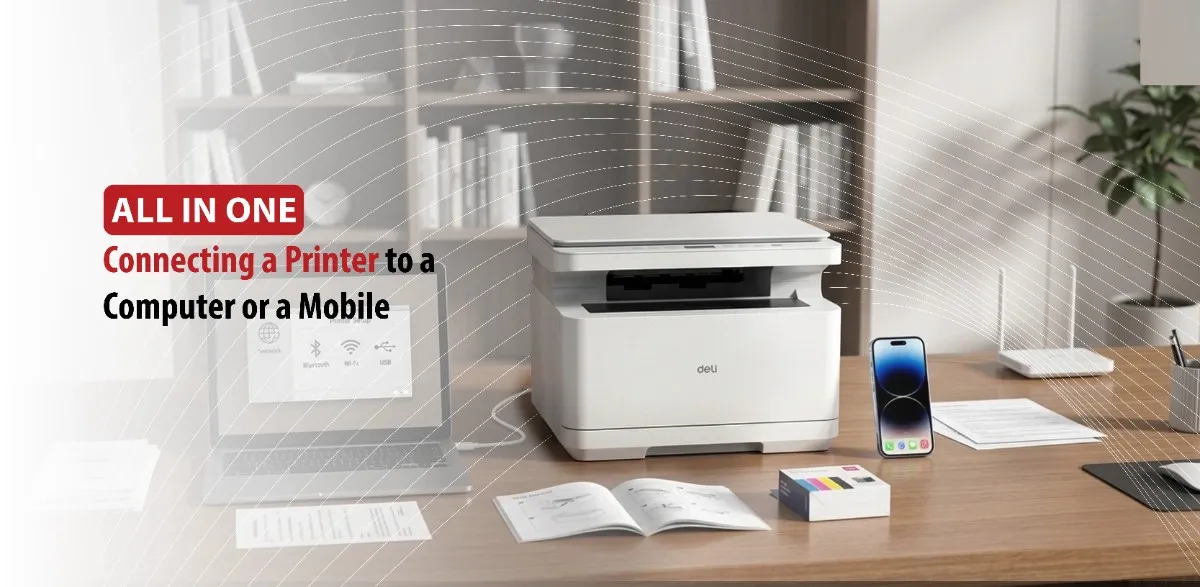
Modern Printers have multiple ways to connect them:
USB Cable
- Ensure your printer is turned on.
- Connect the USB cable from your printer into a USB port on your computer.
- The computer will detect the printer automatically and install the necessary drivers.
- And then verify this step through your settings, Settings > Bluetooth and Devices > Printers and Scanners.
Using Wi-Fi
- Ensure your printer is on the same Wi-Fi as your computer.
- Go to Settings > Bluetooth and Devices > Printers and Scanners > and click Add Device.
Now we’re going to discuss two ways to connect your printer to your mobile.
Using Wi-Fi and Printer Apps
- Make sure both your mobile and printer are connected to the same Wi-Fi network.
- Download the official app for your printer from the Apple Store or Google Play Store.
- Open the app, and it will automatically scan and connect to the printer over your network.
Using Apple Airprint (iOS) or Default Print Services (Default)
- iOS: Open the photo or document you want to print, tap the Share button, scroll down, and tap Print. Select your AirPrint enabled printer from the list.
- Android: Open the file, tap the three dots (menu), select Print, choose your printer. If you cannot find it, you can download the Default Print Service or the manufacturer’s plugin in the Google Play Store.
Common Printer Setup Problems and Solutions
Even modern problems could encounter some problems, but don’t worry we’ve got you covered with some problems and their solutions.
Printer is Offline
This is usually a connection or software issue. Here’s what to do.
- Verify physical connections.
- Disable “Use Printer Offline” (Windows).
- Restart in the correct order.
- Update or reinstall printer drivers.
- Check network settings.
Poor Print Quality
- Run a printer cleaning cycle: This is the first step for inkjet printers.
- Check ink and toner levels: Faded prints often mean low ink or toner.
- Verify paper type settings: If you’re using plain paper but the printer is set for photo paper, quality will suffer.
Paper Jams
- Turn off the printer: This prevents mechanical movement.
- Check all access points: Paper can get stuck in the input tray, output tray, rear access door, or front access panel.
- Remove paper jams slowly: Hold with both hands and remove carefully. Make sure that nothing is left behind.
- Reload paper correctly: Fan the stack before loading, don’t overfill, and use the correct paper type.
Concusion
Setting up a printer for the first time can be easier than expected, especially when you know what you’re doing and follow the steps correctly. By carefully installing the cartridges, connecting your printer to your device, and printing for your first time and seeing the ease and reliability that comes with it from the start, and taking the time to understand that you might face problems and learning how to solve them, will ensure that your printer works efficiently for years.